The following guidelines demonstrate a simple method to create a suitable Group Policy Object (GPO) to install the Agent on a per-computer basis on Windows Server 2012 R2 (the steps are the same for previous versions of Windows Server):
1.Download the Email Signature Manager Agent MSI package from the Symprex website and copy it to a shared location to which your domain users have access. To function correctly, the following permissions must be set:
oOn the share itself, ensure that the generic group Everyone has Read permissions.
oOn the folder containing the MSI package, ensure that the built-in group Domain Computers has Read permissions.
2.On a domain controller, start Group Policy Management from Control Panel > Administrative Tools.
3.Within your domain, choose the Organization Unit (OU) that contains the computers to which you wish to install the Agent. Alternatively, you can install to the entire domain but this will include all computers (e.g. domain controller servers), which may not be appropriate. Right-click the chosen OU and select Create a GPO in this domain, and Link it here....

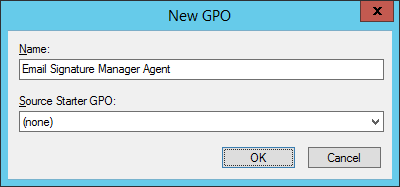
4.In the New GPO dialog, enter the name of the new Group Policy Object (for example, "Email Signature Manager Agent") and click the OK button.
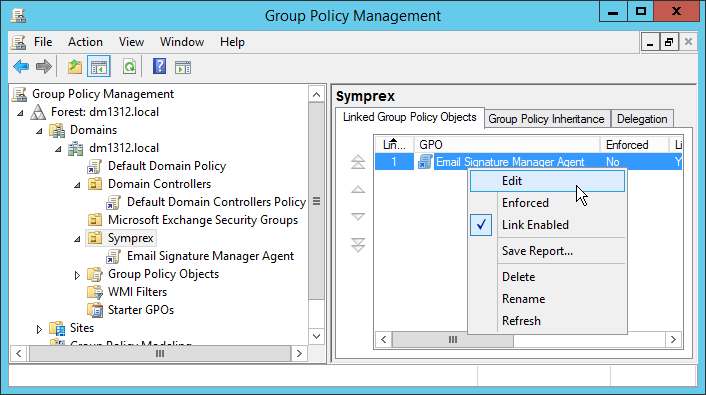
5.The new Group Policy Object (GPO) should now appear in your chosen OU. Right-click it and select Edit:
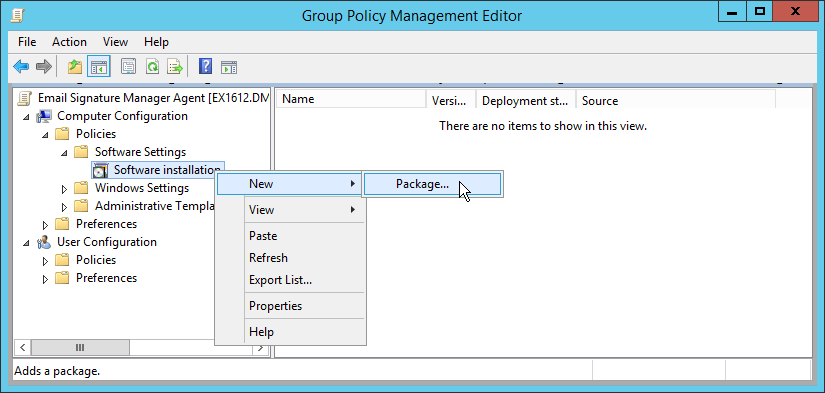
6.In the Group Policy Management Editor, expand Computer Configuration > Policies > Software Settings, right-click Software installation and select New > Package...:
7.Browse to and select the MSI package for the Agent. In the Deploy Software dialog, select Assigned and click the OK button:

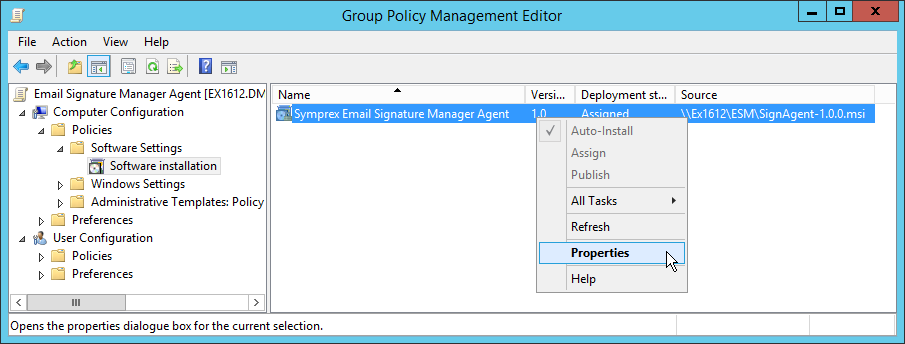
8.Right-click the new Email Signature Manager Agent package and select Properties:
9.On the Properties dialog, select the Deployment tab and check the following option:
è Uninstall this application when it falls of the of he scope of management
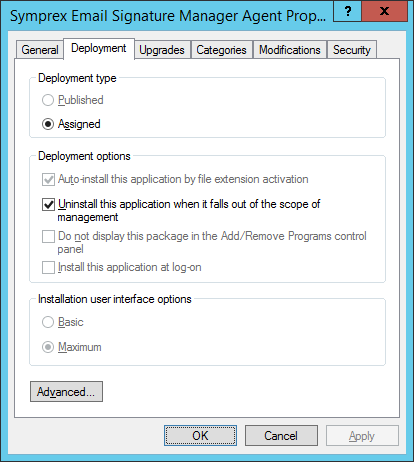
Click the OK button to save the changes.
10.Close Group Policy Management Editor to return to Group Policy Management, and select the Agent GPO in the OU. By default, the Authenticated Users group will have been added under Security Filtering:
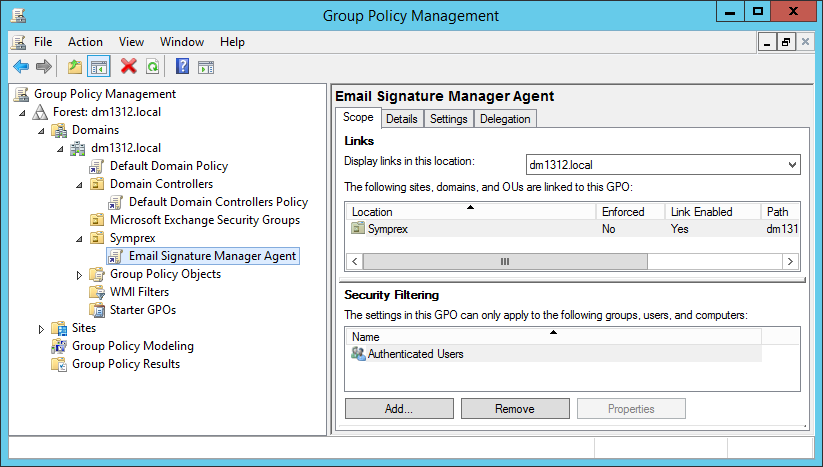
This is suitable for per-computer installations based on membership of the selected Organization Unit. The computers to which the Agent is installed can be further refined by adding to the filtering list.
Upgrading when Using Group Policy
The simplest way to upgrade the Agent when using Group Policy is as follows:
1.Open Group Policy Management and in the Group Policy Objects node, edit the GPO that installs the Agent.
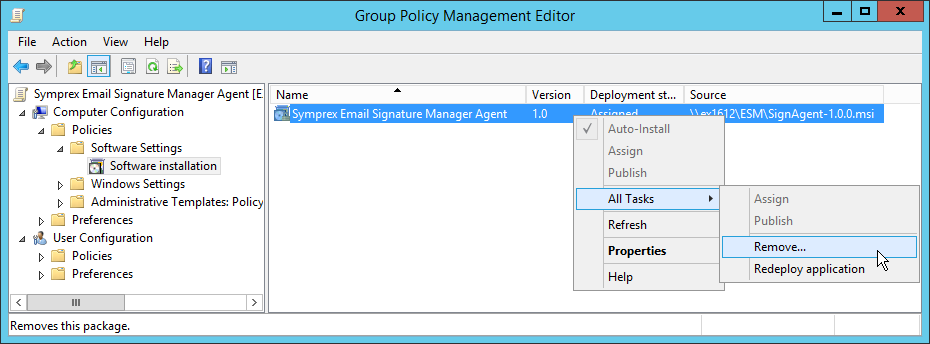
2.In the Group Policy Management Editor, expand Computer Configuration > Policies > Software Settings.
3.Right-click the package that installs the previous version and select All Tasks > Remove....
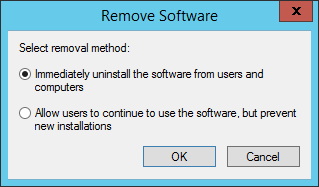
4.In the Remove Software dialog, ensure the Immediately uninstall the software from users and computers option is selected, and click the OK button.
5.Create a new package to install the new version of the Agent i.e. follow from step 6 above using the new version of the MSI package.