The Import Database dialog is opened by clicking the Import Database button on the Database page in the Configuration backstage of the main application window:
Importing an existing database is normally used as part of migrating from using the Built-in Database included with Email Signature Manager to using Microsoft SQL Server. Full details about how to configure a SQL Server database for use with Email Signature Manager can be found in a separate chapter.
Note All existing data in the current database will be deleted during the import process. It is therefore important that you verify that you are connected to the correct target database before performing the import. You can verify the current database by opening the Settings Database dialog.
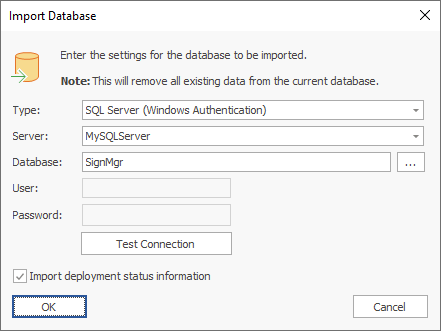
Select the type of the source database in the Type drop-down and then configure the following settings:
•Server: When connecting to Microsoft SQL Server, enter the name of the server where the database is located, or select from the drop-down list of available servers.
•Database: Specifies the actual database from which the data will be imported:
oWhen connecting to a Microsoft Access database, enter the full path to the database or select it by clicking the ellipses ("...") button.
oWhen connecting to a Microsoft SQL Server database, enter the name of the database or select it by clicking the ellipses ("...") button.
•User: When connecting to Microsoft SQL Server using SQL Security, enter the login to connect to the server.
•Password: When connecting to either a password-protected Microsoft Access database or Microsoft SQL Server using SQL Security, enter the password.
Note The Built-in Database that is included with Email Signature Manager is in Microsoft Access format and can be found in the Program Data folder; the default location is C:\ProgramData\Symprex\Symprex.EmailSignatureManager.Database.mdb.
To verify that you have entered the details of the source database correctly, click the Test Connection button; this will open a connection to the database using the settings specified and read the current version, with the result being displayed in a message box.
When the configuration for connecting to the source database has been completed, click the OK button. You will be prompted to confirm the import before the process is started. To close the dialog without importing any data, click the Cancel button.