Signatures can help to make your emails look professional, convey your brand, and to identify who you are. Signatures configured for deployment to Microsoft Outlook, OWA and mobile devices are automatically added to the end of new emails you compose. By designing and deploying signatures from a central point, you can achieve a consistent appearance for all emails from your organization. Email Signature Manager offers four different types of templates to accomplish this:
Icon |
Type |
Description |
|---|---|---|
|
Signatures normally include graphics such as a logo to convey corporate identity and branding, and include fields to merge contact information from Active Directory or another data source. Disclaimers and campaigns can be appended to any signature. |
|
|
Disclaimers are normally of a legal nature and will be appended to designated signatures. Separating disclaimers from signatures makes it easy to maintain the same disclaimer on many different signatures. |
|
|
Campaigns are normally used to include graphics or text, for example news or sales promotions, and will be appended to designated signatures. Campaigns can be scheduled to run within a certain time frame. |
|
|
Stationery can be used to set background images. Note that stationery only works in Outlook and only when creating new email in HTML format. |
Templates are created and managed from the main application window.
When designing a template, the main application window displays the Template ribbon and the template editor:
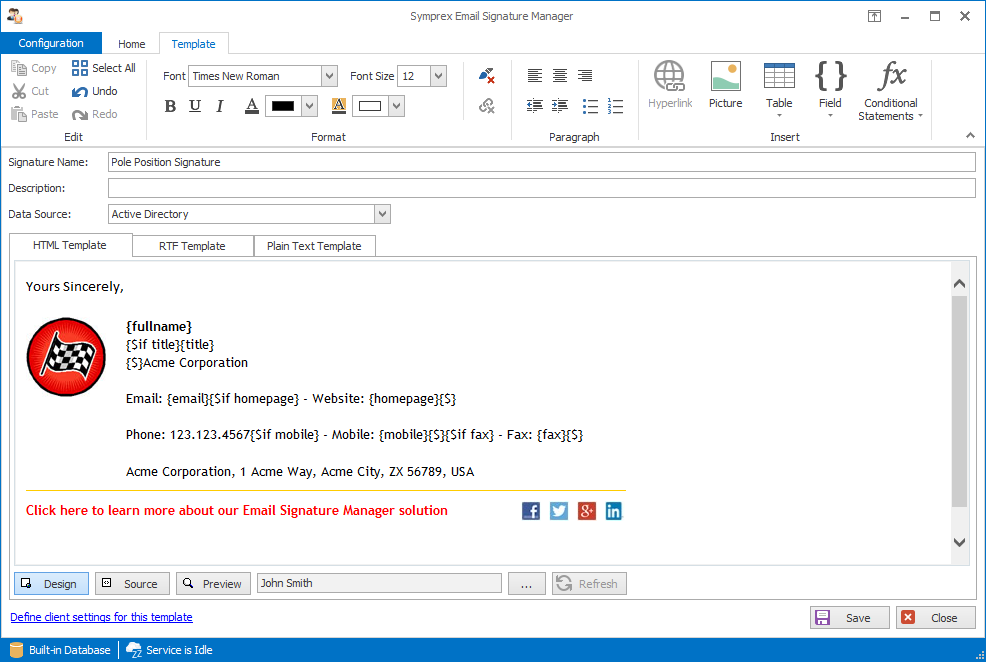
The Template ribbon offers various commands whilst designing your templates:
•The Edit group contains the standard commands for working with the clipboard and content of the template.
•The Format group contains commands to adjust the formatting of the text (HTML and RTF templates only).
•The Paragraph group contains commands to adjust the style of the text (HTML and RTF templates only).
•The Insert group contains commands to insert Hyperlinks, Pictures, Tables, Fields and Conditional Statements.
All templates share two common properties:
•The name of the template, used to uniquely identify each template.
•A description of the template, which is an optional field describing the template.
Depending on the type of the template, other properties are also available. These are discussed in the separate topics for each template type.
All templates in Email Signature Manager have three separate components:
•The HTML Template, which defines the content appended to HTML emails.
•The RTF Template, which defines the content appended to Rich Text Format (RTF) emails.
•The Plain Text Template, which defines the content appended to plain text emails.
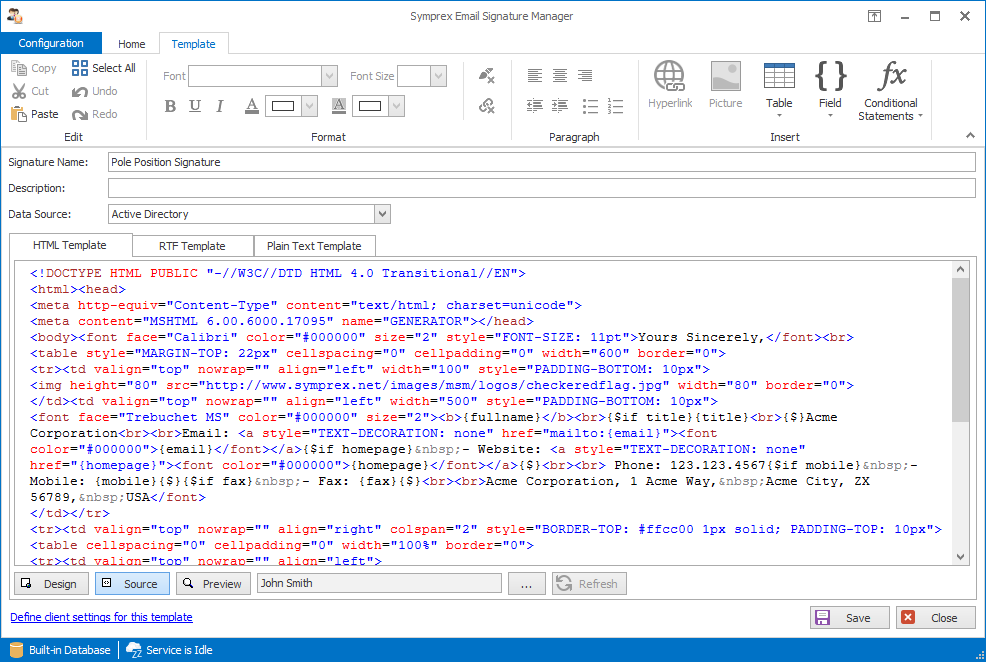
Each component can contain fields (identified by {} braces), which are dynamically replaced by the appropriate user data from the selected data source when the template is deployed to each user. This means that templates are dynamic and their content can be tailored to suit your organization. Prior to deployment, you can test how your templates will appear for any user in your organization using the Test Signatures dialog.
Please refer to the working with fields topic for detailed information on how to use fields in your templates.
Please also refer to the conditional statements topic for information about how to use conditional statements to for example avoid labels followed by empty fields.
All templates are designed in a WYSIWYG editor, however, for the HTML template, the source can also be modified directly by clicking the Source button:
While designing your template, you can, at any time, preview how it will look when merged with user data by clicking the Preview button:
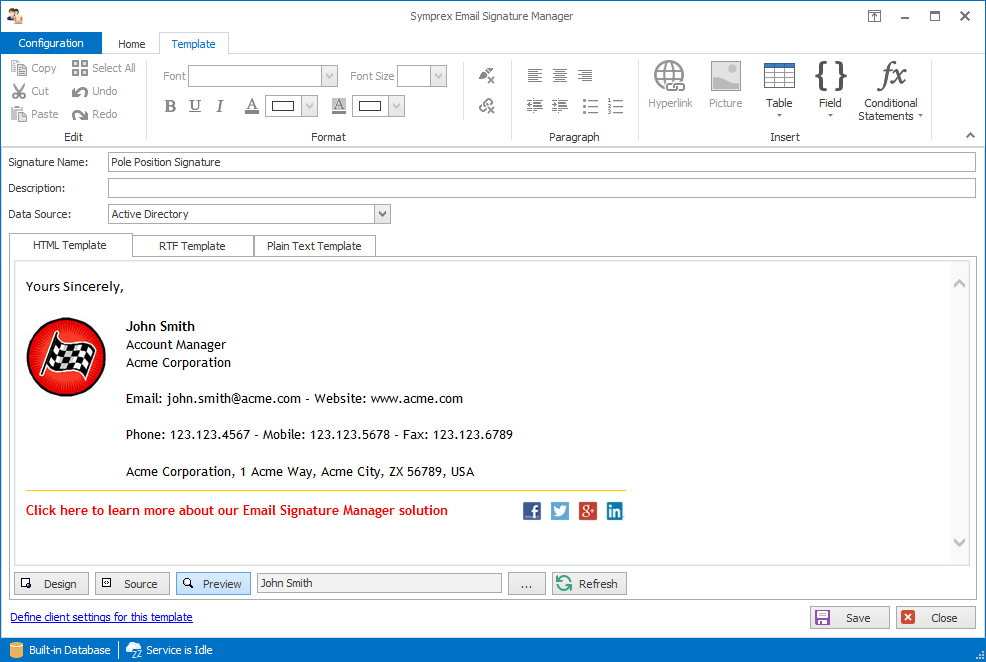
The user for which the preview will be generated can be selected by clicking the ellipses ("...") button and the preview can be refreshed by clicking the Refresh button.
When you have finished designing your template, you can:
•Click the Save button to save the changes to your template.
•Click the Close button to close the template and return to the template browser; you will be prompted to save if you have made any changes.
It is recommended that you read the section of design guidance before authoring your templates to ensure you achieve the best results.